I-Sheets
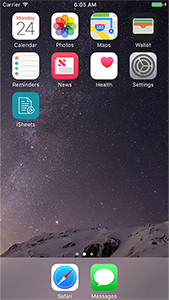
Step-1: iSheets
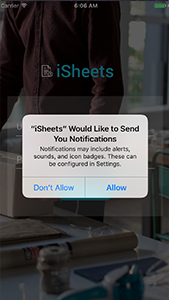
Step-2: Remote Notification Registration
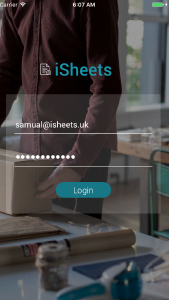
Step-3: Employee login
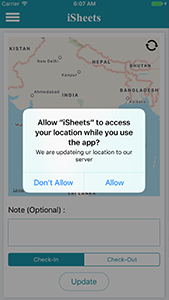
Step-4: Employee Device location Access
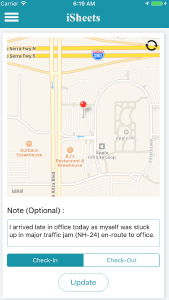
Step-5: Employee check-in/ checkout screen with some note
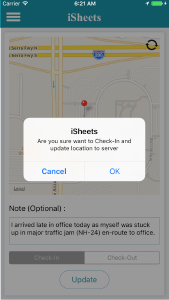
Step-6: Send check-in/check-out to server for daily working hours
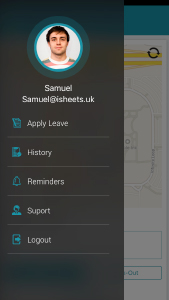
Step-7: Left Menu for more option with user profile
Step-8: Employee can add to-do in app
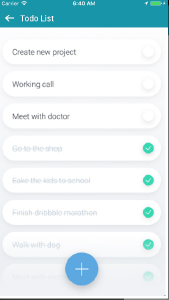

Step-9: To-do Adding with completion date screen
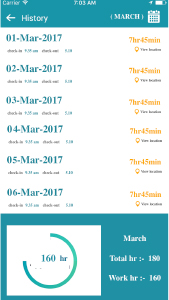
Step-10: Employee list of working hour’s month wise (Main)
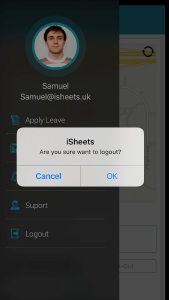
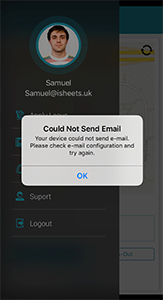
Step-11: Logout Screen
Step-12: Support Screen in mobile its open mail